|
|
|
|
|
|
THE TREAD BOXES

Here is a
list of the things that need to be done
before the tread boxes project can be considered finished.
1. Add radius to upper corners of each tread bay 2. Soften leading upper edge above side panels 3. Soften leading upper edge of each tread bay 4. Add weld to 90 degree corner form above side panel. Grind and smooth the weld so that the corner is softened. 5. Add bottom plates, using countersunk flathead screws so that they can easily be removed 6. Raise height of upper wheels 7. Raise height of internal leg support system 8. Re-weld right leg hinge in correct position: move hinge in so that it is ¼ inch from edge of knee plate 9. Cut out utility port in back of right tread box 10. Attach aluminum side panels in historically accurate manner 11. Polish and bead blast entire surface
Nearly all of these tasks were performed by
Craig Reinbrecht on his robot. Craig's steel tread boxes, however, are
painted. I am going to have mine remain unpainted, but buffed and then
glass bead blasted. I had originally hoped to have the tread boxes
anodized,
but they are constructed of an aluminum alloy that turns a slight green
when anodized. Bead blasting is the only course of action
Here is a photograph of the detail work performed by Craig. It is exactly this level of attention to detail that I hope to replicate.
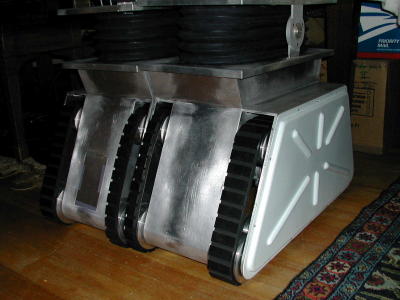
Note how the edges and corners have been softened in the above photograph. Now compare this with the unacceptable sharpness of the angles of the unfinished tread box below:
One problem with the tread boxes is that the upper wheel in each tread bay is two low. As most B9 robot builders are aware, the club tread boxes were built according to the studio blueprints. The actual robot used in the television show, however, deviated from the studio blue prints in this and other details. For enthusiasts like me, this means that all the upper wheels will have to be raised. Craig Reinbrecht accomplished this arduous task.
Here is a photograph of Marc Chabot's aluminum tread box. You can see that the old axle hole has been filled in with weld and a new hole drilled above it. This will have to be replicated in my robot's tread boxes:
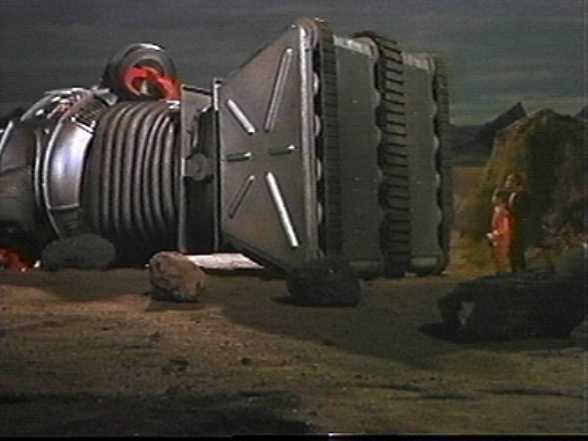
The photograph above also shows how club-made tread boxes have open bottoms. I will have my machinist fit a removable bottom plate in these gaps. It will be secured by a countersunk flat-head screw in each corner, designed to allow easy access. The original robot had solid bottom on his tread boxes. In the screen grab below, from the second-season episode "Trip Through the Robot," (episode 55, original air date: 22 March 1967), you can see an additional access panel at the bottom of the robot's left tread box. This access panel was a convenient invention of the writer, Barney Slater, who needed a convenient way for Will and Dr. Smith to enter the robot. I am toying with the idea of recreating this little access panel. The original robot did not really have such an access panel. You can see that the bottom of each tread box in this picture has been covered, just for this scene, with a darker colored panel. Nevertheless, it might be fun to put one in anyway for the purpose of maintaining scriptural "continuity."

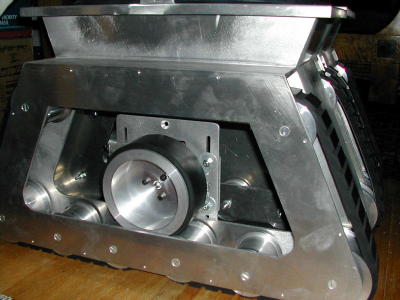
My tread
boxes came equipped with the brilliant
motorization kit designed by Norm Sockwell, as you can see in the
following
photograph.

Unfortunately, the necessity of raising the upper
wheels in each tread bay will require a longer tread. Since it is
nearly
impossible to acquire longer treads these days, my machinist has
offered
to solve the problem by creating a new pair of billet wheels (the large
wheel in the center of the photograph above) of sufficiently smaller
diameter
to compensate for the increased perimeter of the tread channel.